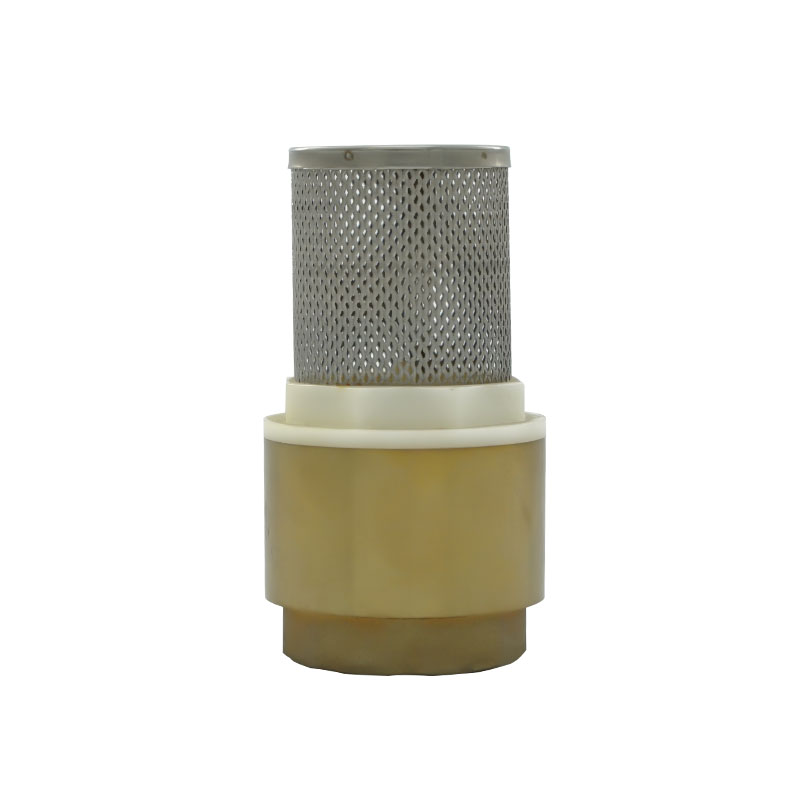
Preparation before installation
Before installing the check valve, some preparations need to be done. First, determine the installation location and check whether the pipe is clean and free of dirt and impurities. Make sure that the check valve matches the pipe size and check whether it meets the standard requirements.
Close the pipe system
Before starting to install the check valve, make sure to close the corresponding valve and stop the flow of the pipe system. This is to avoid accidents or contamination of the pipe system during installation.
Remove the flange
If the check valve is connected with a flange, you need to remove the flange first. Use tools such as screwdrivers and wrenches to loosen the flange bolts counterclockwise and then remove the flange.
Clean the pipe and check valve
Use tools such as detergents and brushes to clean the pipe system and check valve to ensure that there is no dirt and impurities. This step is to prevent impurities from entering the pipe system and affecting the quality of water and the normal operation of the valve.
Install the check valve
Insert the check valve into the end of the pipe and ensure that it fits tightly with the pipe connection. If the check valve is connected with a flange, reinstall the flange on the check valve and secure it with bolts. Make sure the bolts are tightened evenly to avoid water leakage or falling off.
Adjust the valve direction
According to the flow direction of the fluid, adjust the direction of the check valve. Normally, the check valve should be consistent with the flow direction of the fluid to ensure normal prevention of backflow.
Test
After installation, a test is required to ensure that the check valve is working properly. Open the valve of the pipeline system, check whether the check valve effectively prevents backflow, and observe whether it is.
